The total time of this project was 30 minutes. We used recycled wood that we already had therefore all the project took was a little time and creativity.
Step 1: Pick out your wood and measure how big you want your bench.
We used two of the top pieces of wood. The bottom bit of wood was cut to size to to use as a coat rack. As you can see from the picture the the wood is not perfect however, that is what we liked about it. We figured that it added character and therefore, we didn't care if it was a little crooked.

Step 2: Cut the wood to size. We wanted to make a small bench so we cut one piece 30' inches [Top of the bench]. We cut two legs which were 18' inches.
 The picture above is one of the legs.
Step 3: Cut the stabilizers at a 45 degree angle. [cut 2]


Step 4: Start putting it together with screws. I am sure nails would work too but I would suggest using screws.
Note: You will need two people to assemble the bench.

Step 5: Have a seat.
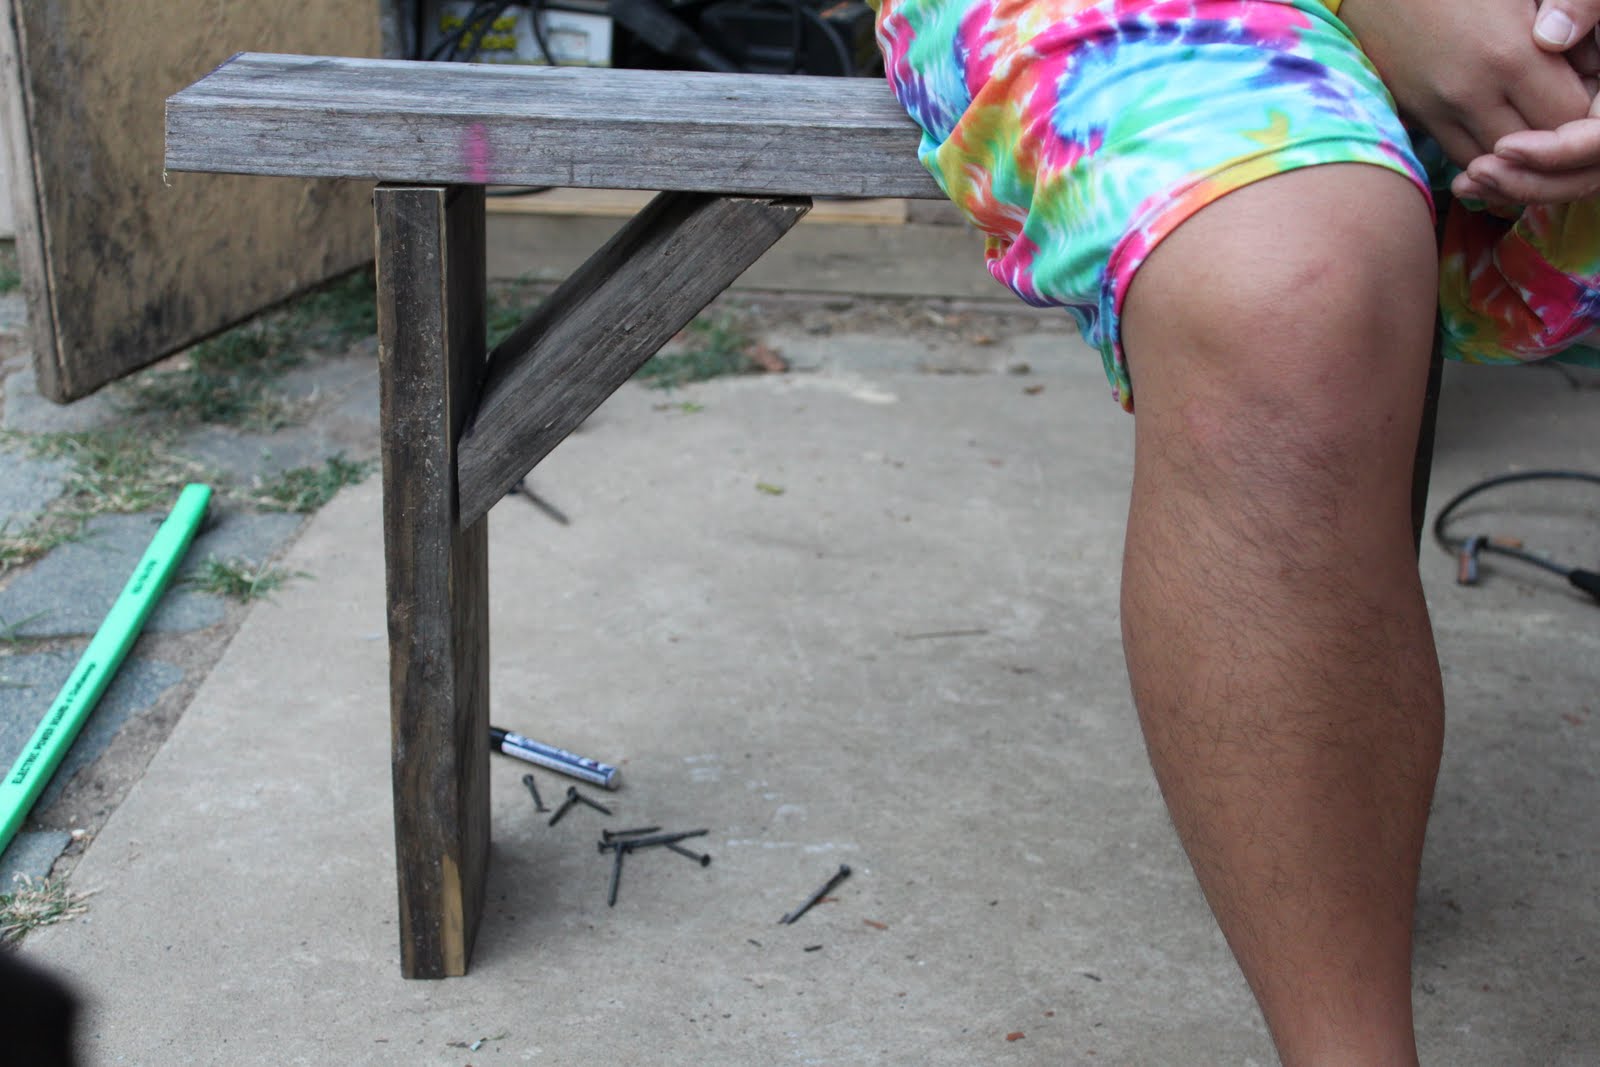
Finished Product

Side Note:
If you are interested in recycled wood check at a local fence company. They usually have a lot of old wood that they are willing to give away. It is also beneficial to keep your eyes out for old wood on the side of the road. Neighborhoods seem to always be throwing away wood. If you have any questions about this project please contact me! I will be happy to help answer any questions. Remember that if you are wanting a bench of your own and you are in the Chattanooga area I might be able to cut you a deal!
Happy Crafting.
No comments:
Post a Comment