Monday, August 29, 2011

Building a Bench 101

While I was home in Chattanooga for a couple days I continued crafting. This time I had a handy man on site! My step-father and I decided to build a bench for my friends new house! Samantha had been looking for a bench for her house for a while and couldn't seem to find one that was just right so we starting building.

The total time of this project was 30 minutes. We used recycled wood that we already had therefore all the project took was a little time and creativity.

Step 1: Pick out your wood and measure how big you want your bench.
We used two of the top pieces of wood. The bottom bit of wood was cut to size to to use as a coat rack. As you can see from the picture the the wood is not perfect however, that is what we liked about it. We figured that it added character and therefore, we didn't care if it was a little crooked.


Step 2: Cut the wood to size. We wanted to make a small bench so we cut one piece 30' inches [Top of the bench]. We cut two legs which were 18' inches.

The picture above is one of the legs.

Step 3: Cut the stabilizers at a 45 degree angle. [cut 2]


Step 4: Start putting it together with screws. I am sure nails would work too but I would suggest using screws.
Note: You will need two people to assemble the bench.


Step 5: Have a seat.
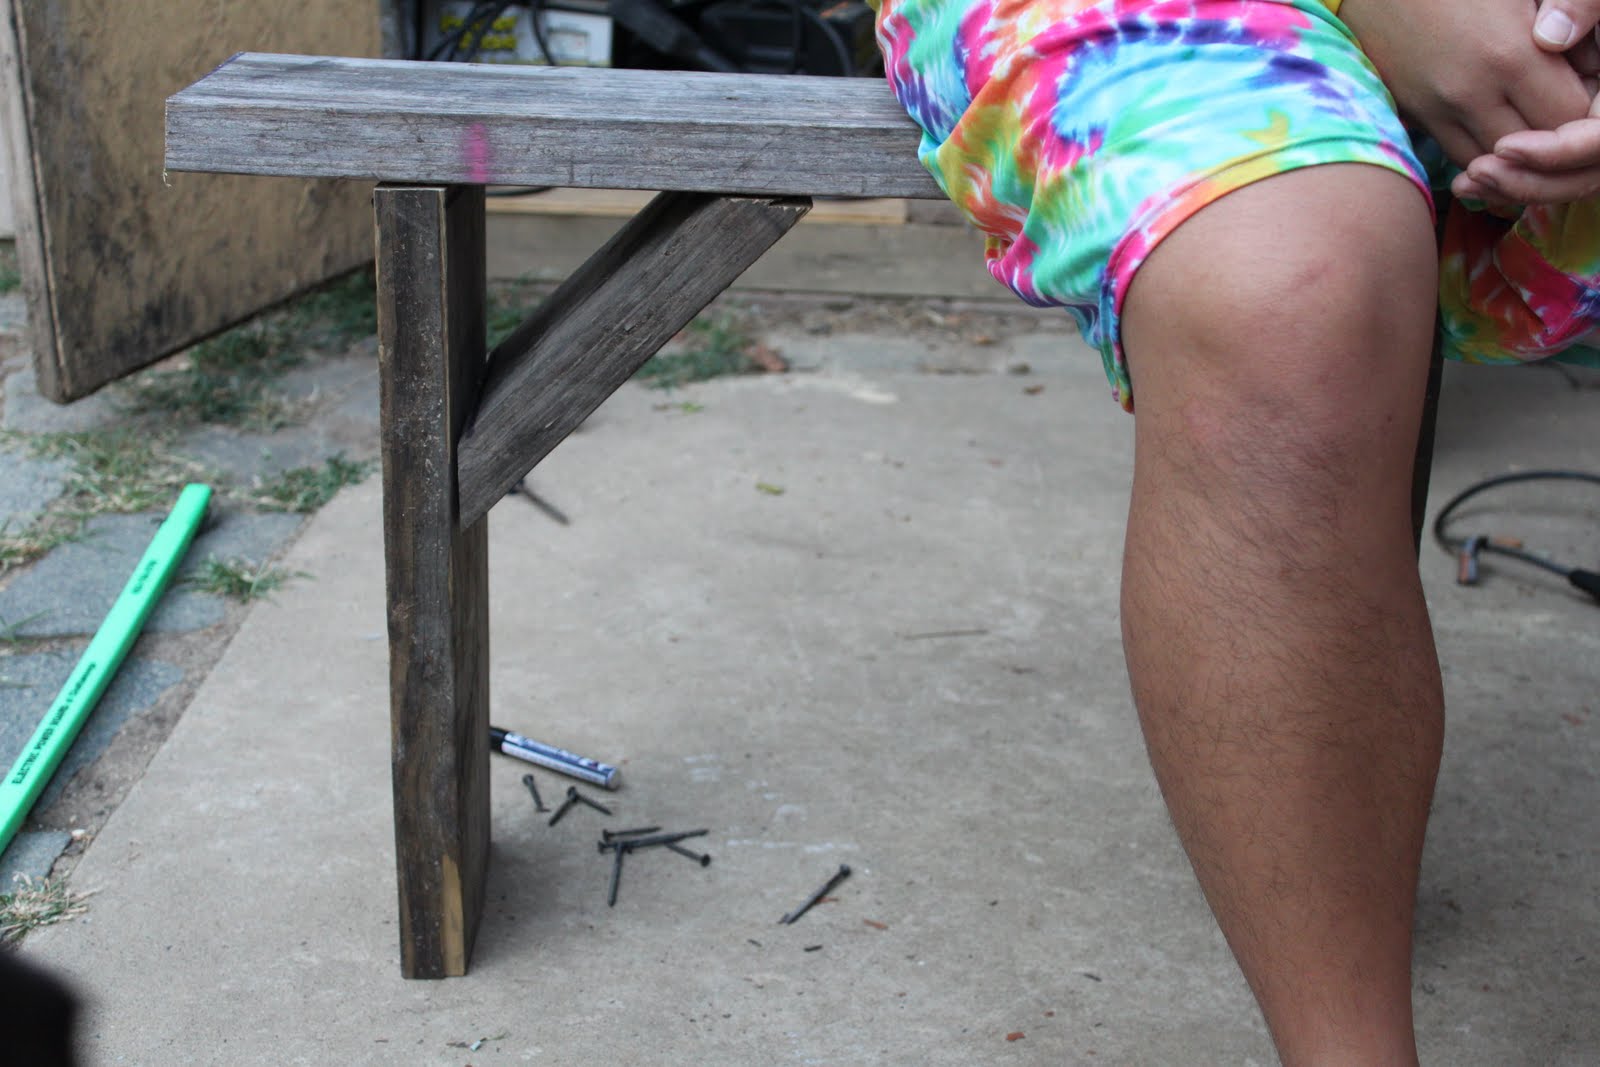

Finished Product


Side Note:
If you are interested in recycled wood check at a local fence company. They usually have a lot of old wood that they are willing to give away. It is also beneficial to keep your eyes out for old wood on the side of the road. Neighborhoods seem to always be throwing away wood. If you have any questions about this project please contact me! I will be happy to help answer any questions. Remember that if you are wanting a bench of your own and you are in the Chattanooga area I might be able to cut you a deal!

Happy Crafting.


Sunday, July 31, 2011

Buy It?

Don't want to make it--buy it. I now have some of my crafts on Etsy! That's right, I am selling some of my crafts online. My friend and I have been so busy making crafts that it is now taking over our homes. In order to continue funding out crafting habits we decided to sell some of our stuff online. I hope you enjoy.

Visit our Etsy page by going to
www.etsy.com
GreenTreeAccessories

or by copying and pasting the website below in your browser.

http://www.etsy.com/shop/GreenTreeAccessories?ref=si_shop

Thursday, July 28, 2011

Mosaic What? Mosaic a Stool- additional photos

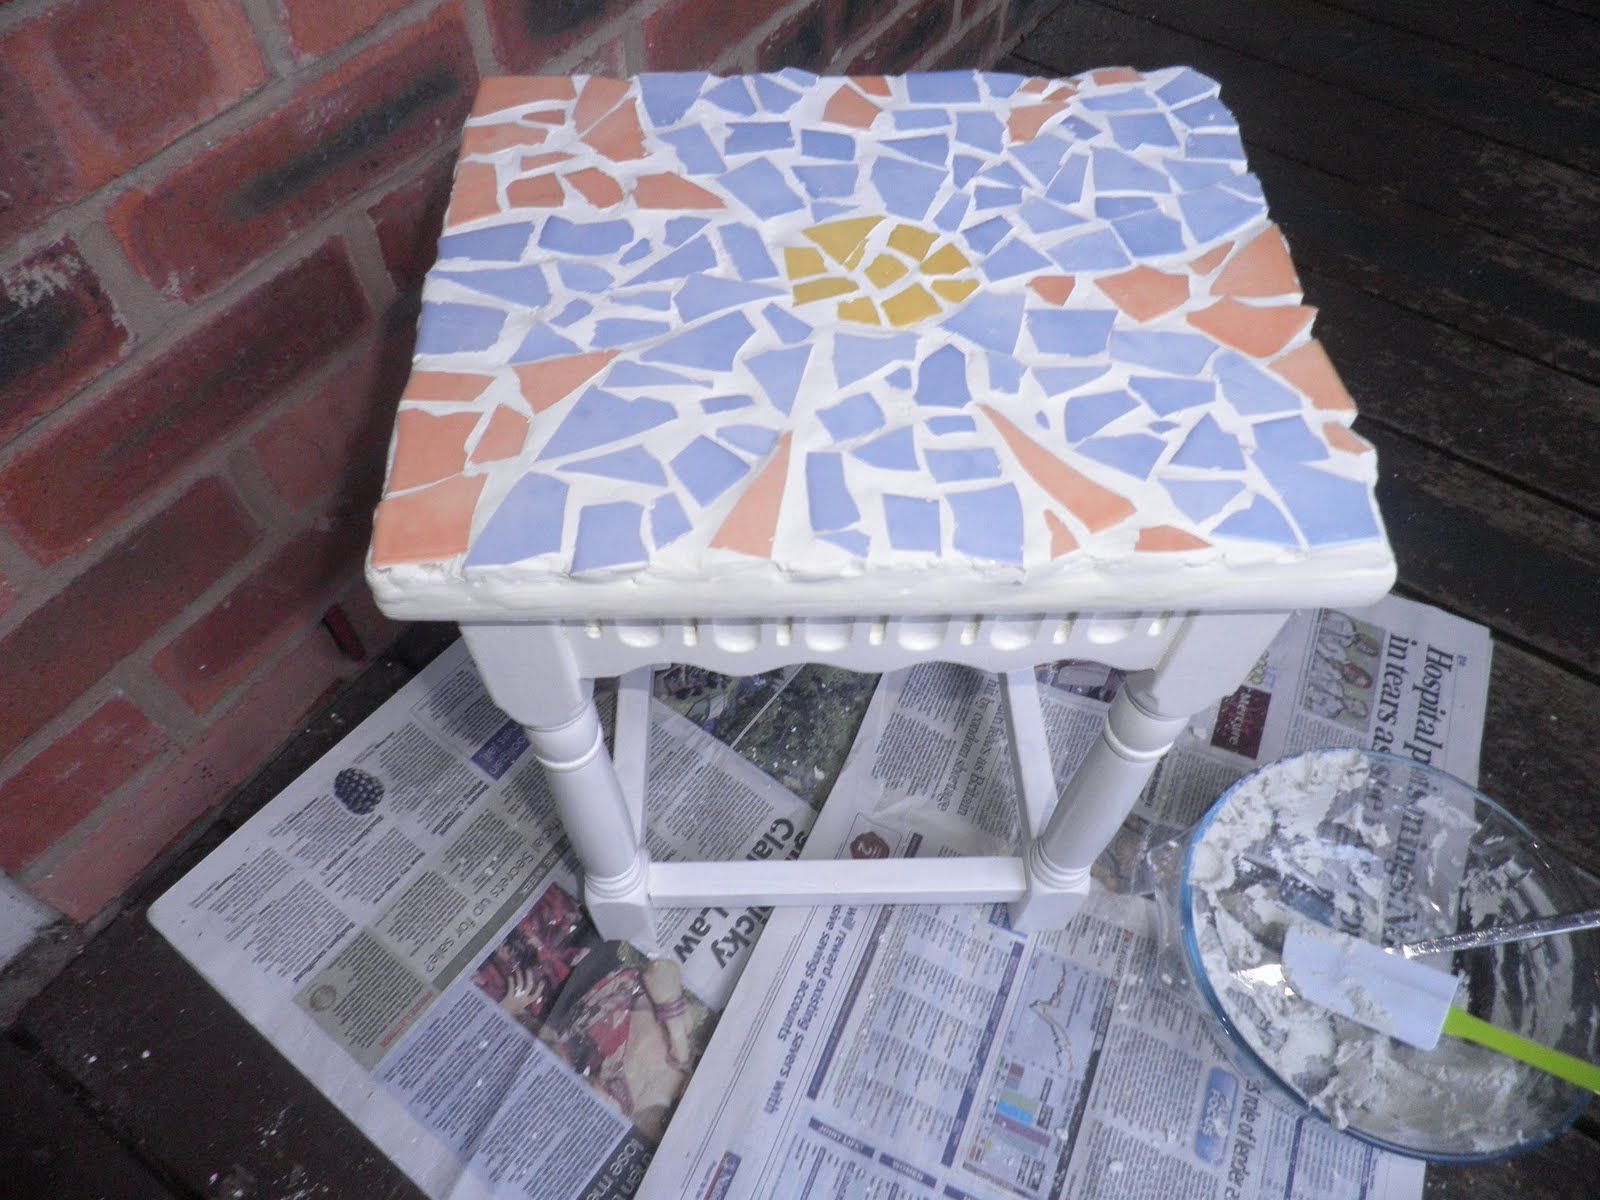
This is a picture of the mosaic stool once it was finished.


Above is a picture of Step 7 from the mosaic project. I was having a hard time getting other pictures to post.

GOOD LUCK! I will be happy to answer any questions you may have.

Mosaic What? Mosaic a Stool

Materials Needed:
Stool or table
Paint {optional}
Tiles
Grout
Hammer {or something to smash hard to smash the tiles with}
Super Glue

Step 1:
Paint the stool or table. We painted our stool white but feel free to paint your work of art a different color.

Step 2:
Draw a pattern or picture to mosaic. You can freehand this design or print an image off the internet and trace it.


Step 3:
Smash the tiles to little pieces!! I actually had a good time doing this. We used a hammer and put the tiles in a plastic bag so we didn't make a mess.

Step 4:
Start super gluing the bits of tile to the stool


Step 5:
Let the glue dry overnight or according to the directions.

Step 6:
Mix grout according to the directions

Step 7:
Use hands or mixing knife to spread the grout in the cracks

Step 8:
Scrape the extra grout off the top of the tiles and let grout dry.

Step 9:
Get a damp rag and wipe the tiles clean

Note: This project doesn't have to be expensive. What we spent: Stool 1.00, Grout 8.00, tiles-free. The other materials used we already had.